Creating Emails
How to design and craft engaging email templates using the Blocfree editor.
💡 Introduction
Blocfree's email editor allows you to design and craft email messages quickly and easily using drag-and-drop functionality. This eliminates the need for coding & designing and enables you to preview, test, and publish with a single click. Our editor saves your work in real-time and provides version controls and management, so you can focus on designing and creating your template and we will handle everything for you 😃.
✨ Capabilities of the Blocfree Email Editor
To start using Blocfree's email editor, click the "➕ Create New" button in the app's header. Choose "Start from Blank" A pop-up will appear, prompting you to select the template type. For emails, choose "✉️ Email" to create your message or "Start from Template" to use one of our pre-built designs.
Now that we've opened the Email Editor, let's explore its key functional features. We'll learn how to use these tools to design engaging and effective email marketing campaigns.
The Blocfree Email Editor offers the following key components:
- Canvas: The main board where you design your template by dragging and dropping blocks.
- Content Editor: This contains all the content blocks you need to create your email content.
- Blocks Editor: This contains all layout blocks (sections) for designing your email layout, optimized for both web and mobile viewing.
- Settings: This panel displays all properties for the selected block, allowing you to manage and customize its settings.
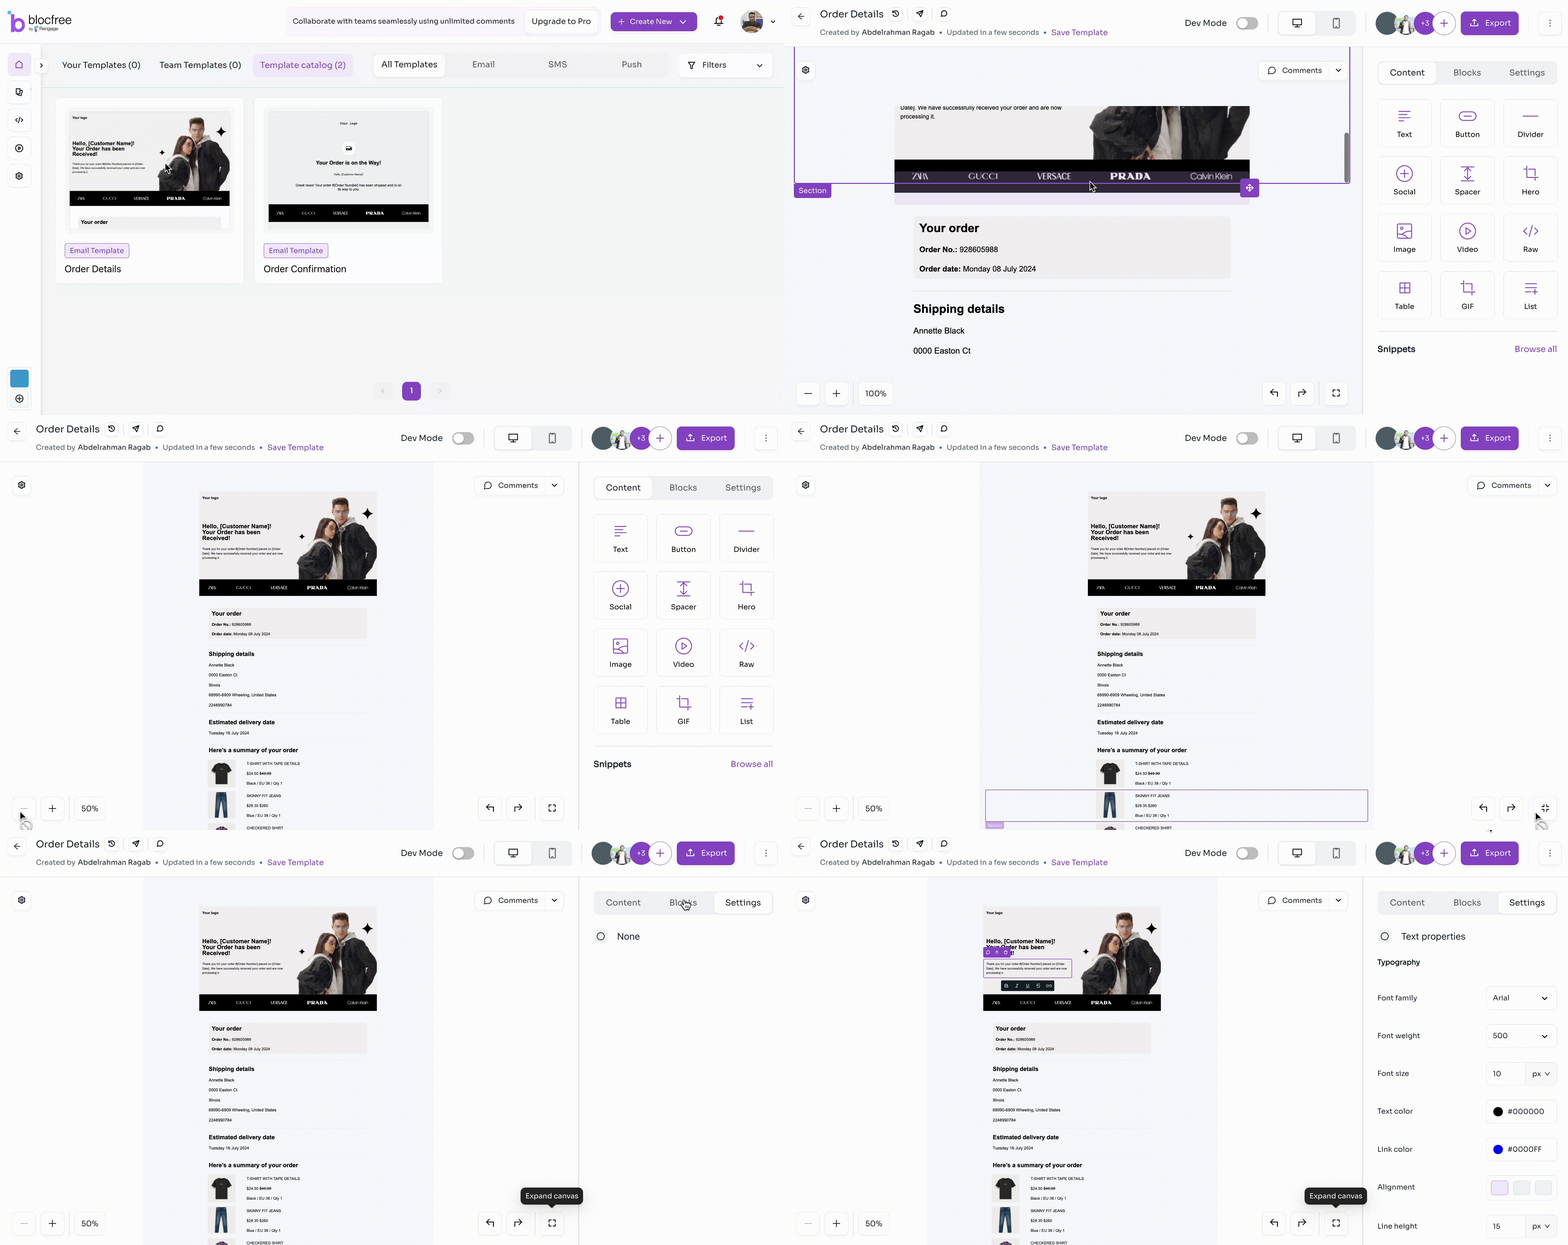
🖼️ Canvas
Use the Canvas to drop your content and layout blocks. You can control your view of the Canvas using the following functionalities:
| Functionality | Shortcut | Image | Description |
|---|---|---|---|
| Expand Canvas | N/A | Toggles full view in the editor. | |
| Redo | ⌘+⇧+Z | Repeats the last undone action. | |
| Undo | ⌘+Z | Reverses the last action. | |
| Zoom View | N/A | Sets the zoom level (default 100%). | |
| Zoom In | N/A | Increases canvas magnification. | |
| Zoom Out | N/A | Decreases canvas magnification. | |
| Settings | N/A | Adds the Subject and Pre-header of the email. | |
| Comments | N/A | Displays all comments from your teammates. |
🧱 Content Tab
Use the “Content” tab to drag content blocks and drop them onto the Canvas. The following blocks are available for you to use:
| Content Block | Description | Image |
|---|---|---|
| Text | Adds text for titles or descriptions with formatting options (bold, italic, underline, | |
| Button | Inserts a clickable button for calls to action with formatting options (bold, italic, underline, | |
| Divider | Creates a horizontal line to separate content sections. Customize width, background color, alignment, border, and padding in the "Settings" tab. | |
| Social | Adds social media icons and links. Manage over 46 platforms in the "Settings" tab. | |
| Spacer | Inserts vertical space between elements. Adjust height and background color in the "Settings" tab. | |
| Hero | Creates a prominent image section, typically used at the top of emails. | |
| Image | Inserts images from your media library or uploads new ones. | |
| Video | Embeds video content or thumbnails from your media library or uploads new ones. | |
| Raw | Allows insertion of custom HTML code. | |
| Table | Creates tables for organizing data or layout. Customize columns, rows, background color, font settings, and padding in the "Settings" tab. | |
| GIF | Inserts animated GIF images. Search and choose from our partner's GIF library. | |
| List | Creates bulleted or numbered lists. Customize list type, background color, font settings, and padding in the "Settings" tab. |
📐 Blocks Tab
The "Blocks" tab allows you to structure your email by dragging and dropping layout blocks (sections) onto the Canvas. You can select from layouts with zero to six columns, and fine-tune the columns structure using the "Settings" tab.
⚙️ Settings Tab
The "Settings" tab allows you to customize and manage the properties of your selected block. You can adjust background color, dimensions, padding (on all sides), border properties, font settings, and social elements. Additionally, you can select images from your media library to enhance your content 😊.
🛠️ Actions Available in the Editor
While using the email editor, you can perform several actions. Here are some of them:
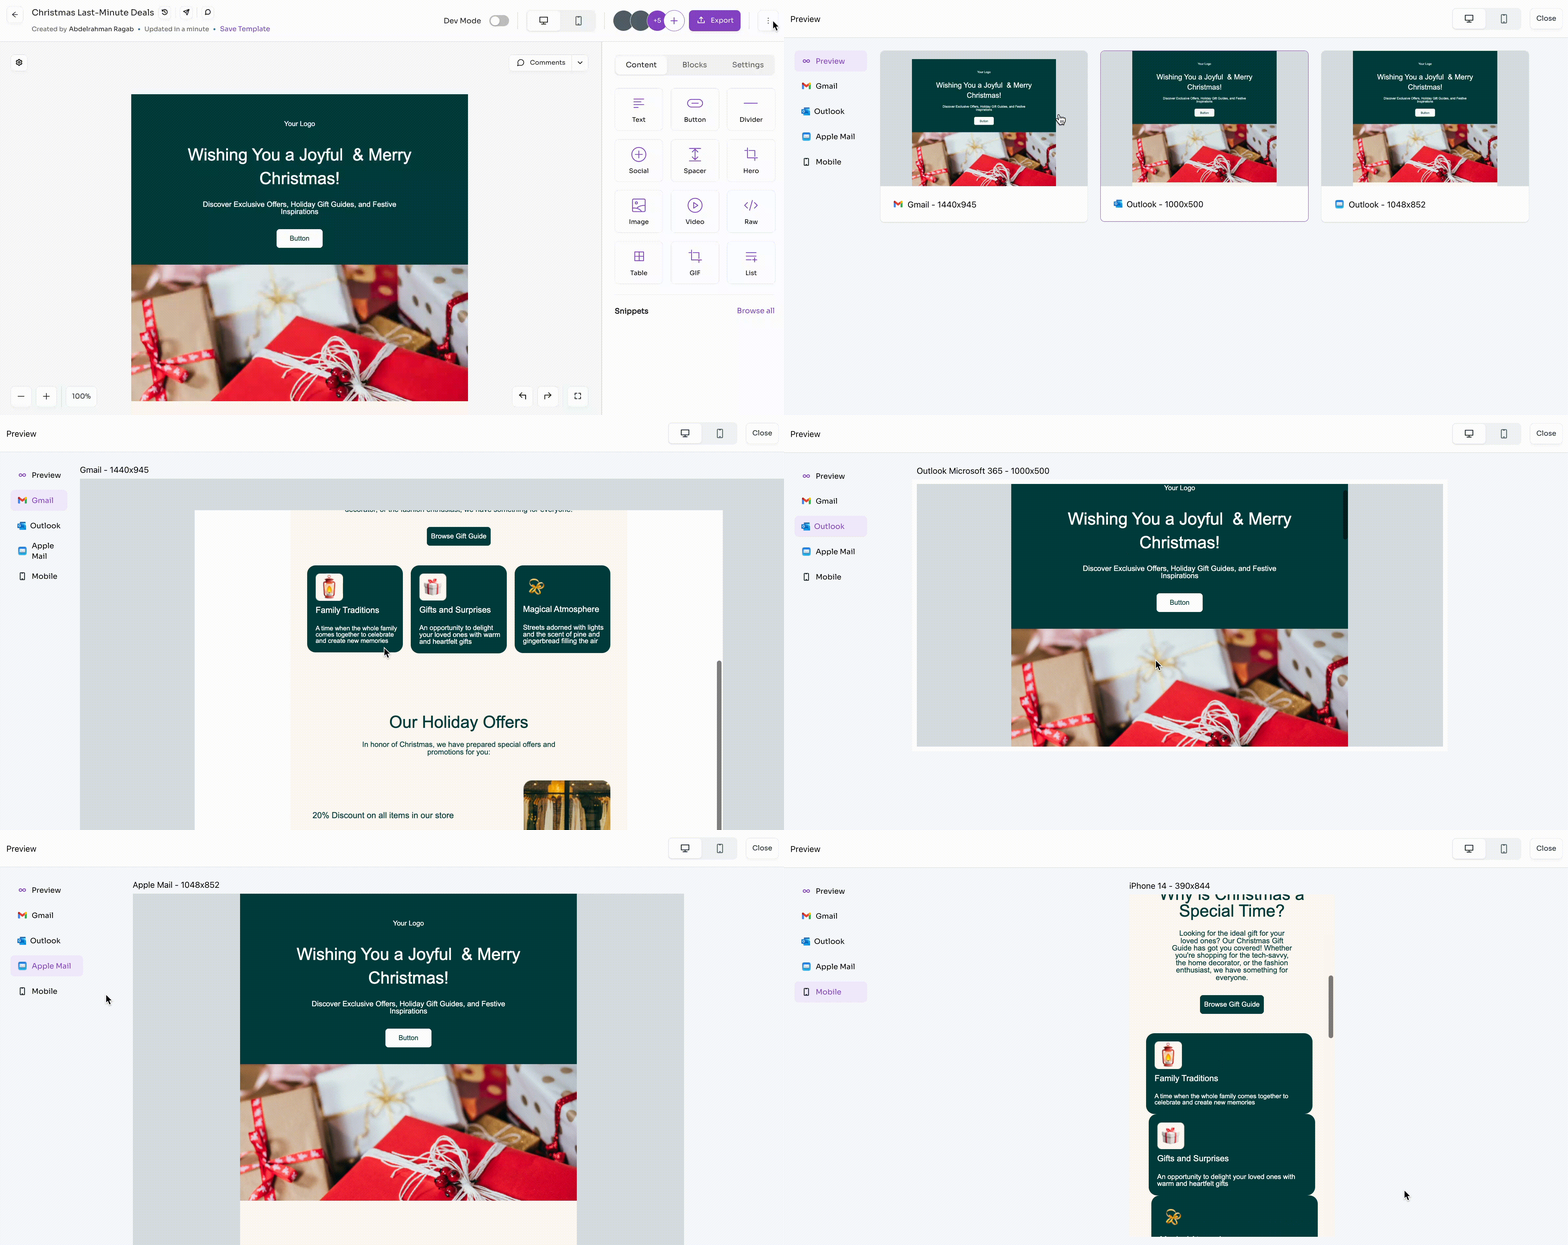
- 👀 Preview: This feature allows you to see how your email will appear in Gmail, Outlook, Apple Mail, and on Mobile.
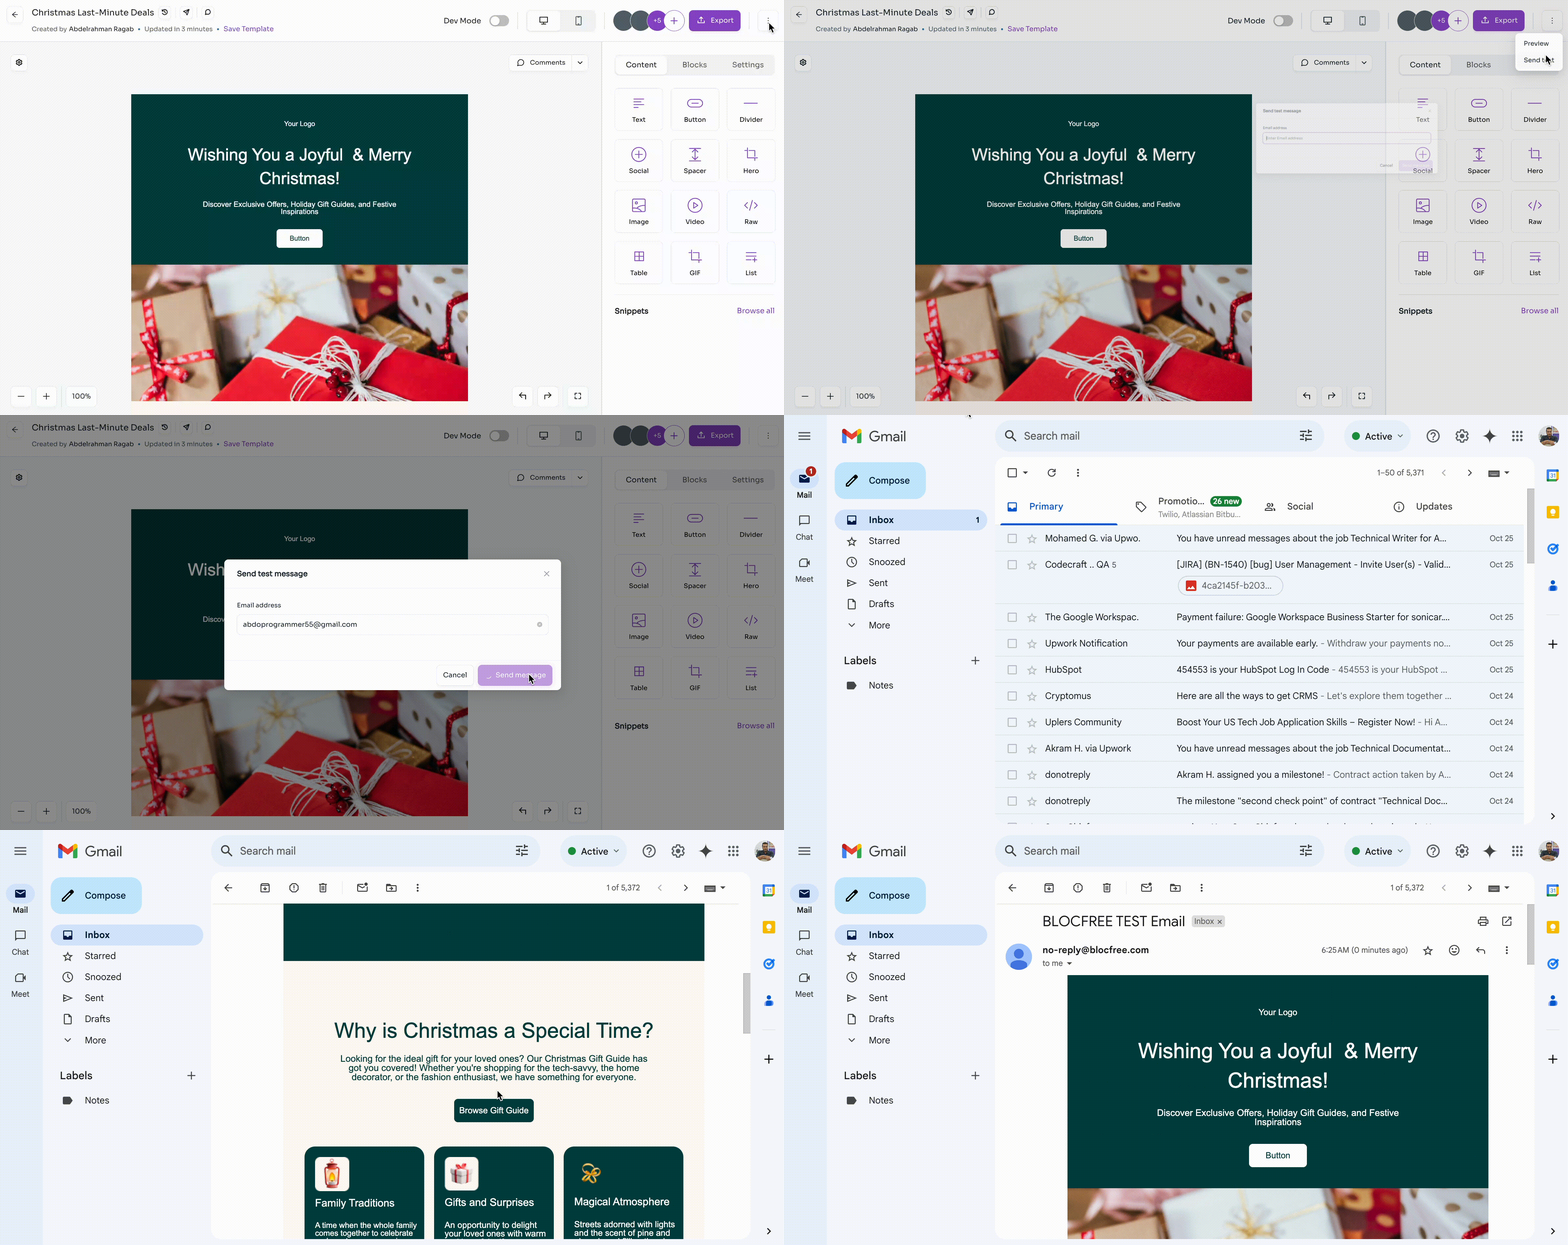
- ⌛ Test: This feature allows you to send a test message of your template to your email address.
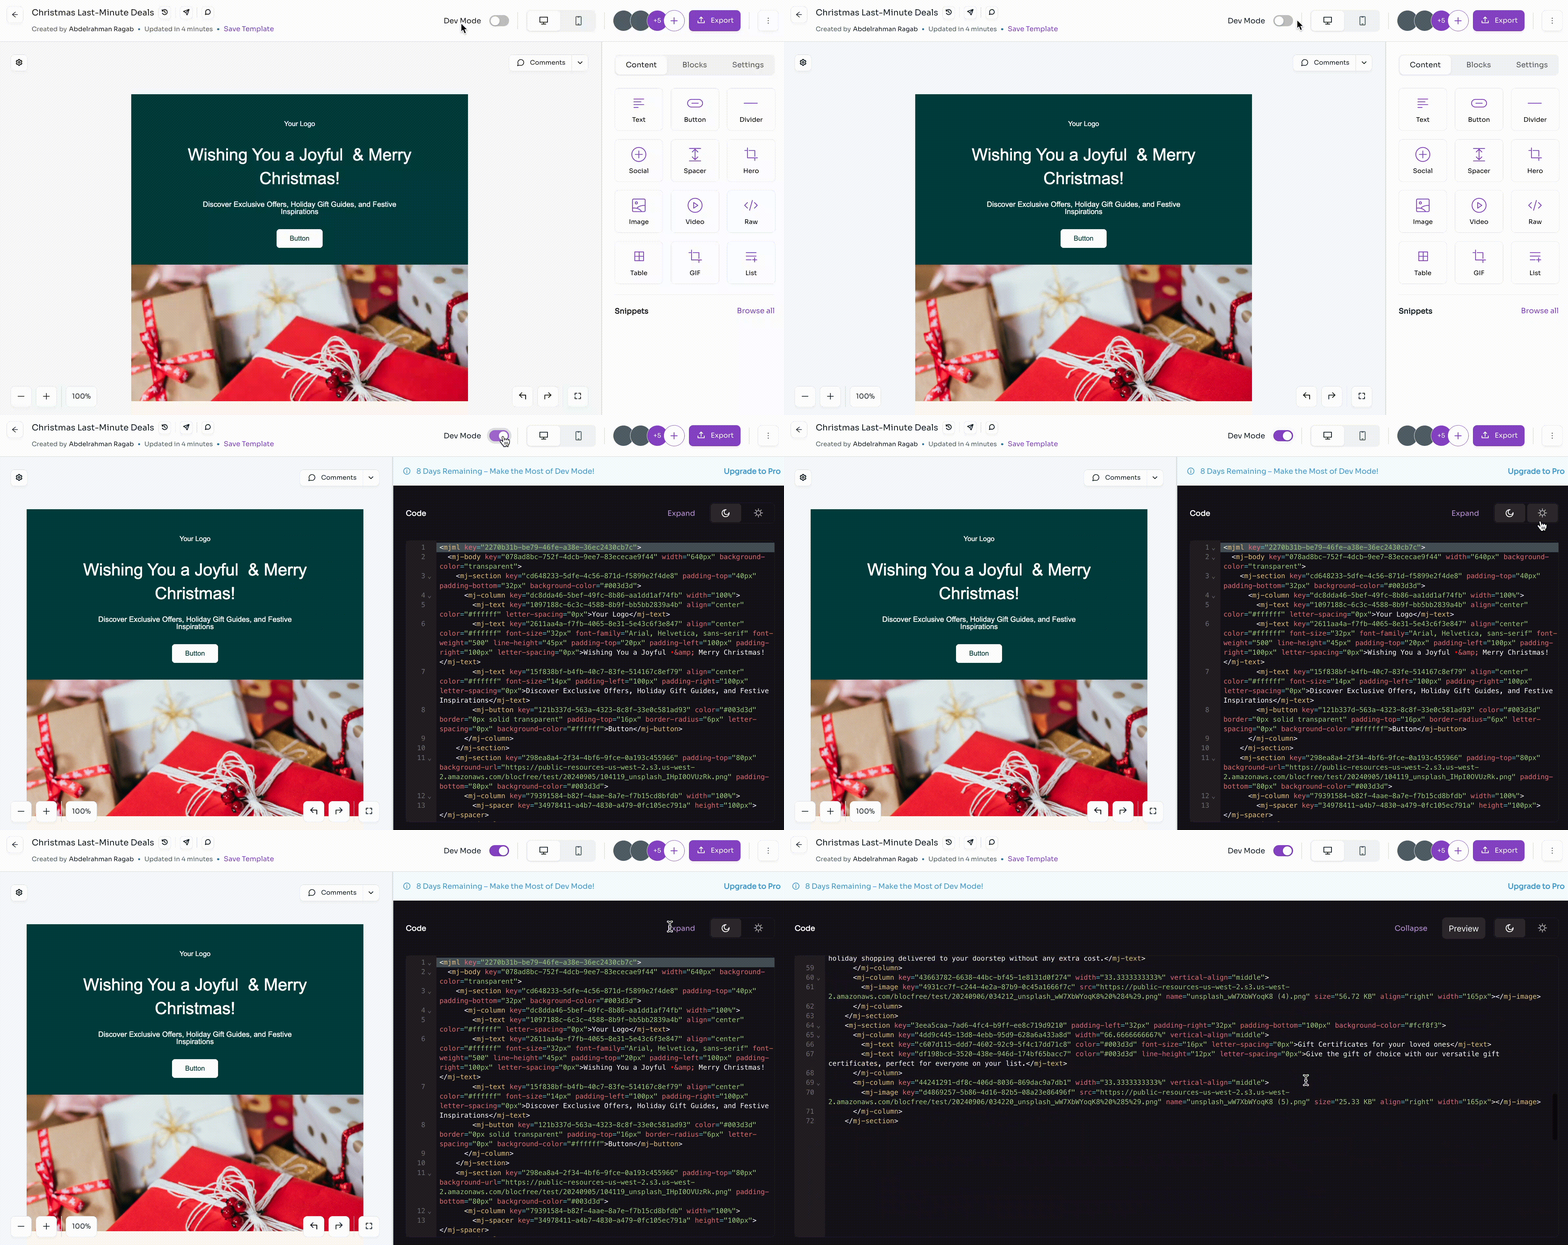
- 🧑💻
Dev Mode: This feature lets you view the development version of your template using MJML, a modern email markup language.
- 📱 Mobile or Desktop View: This feature allows you to switch between desktop and mobile views.
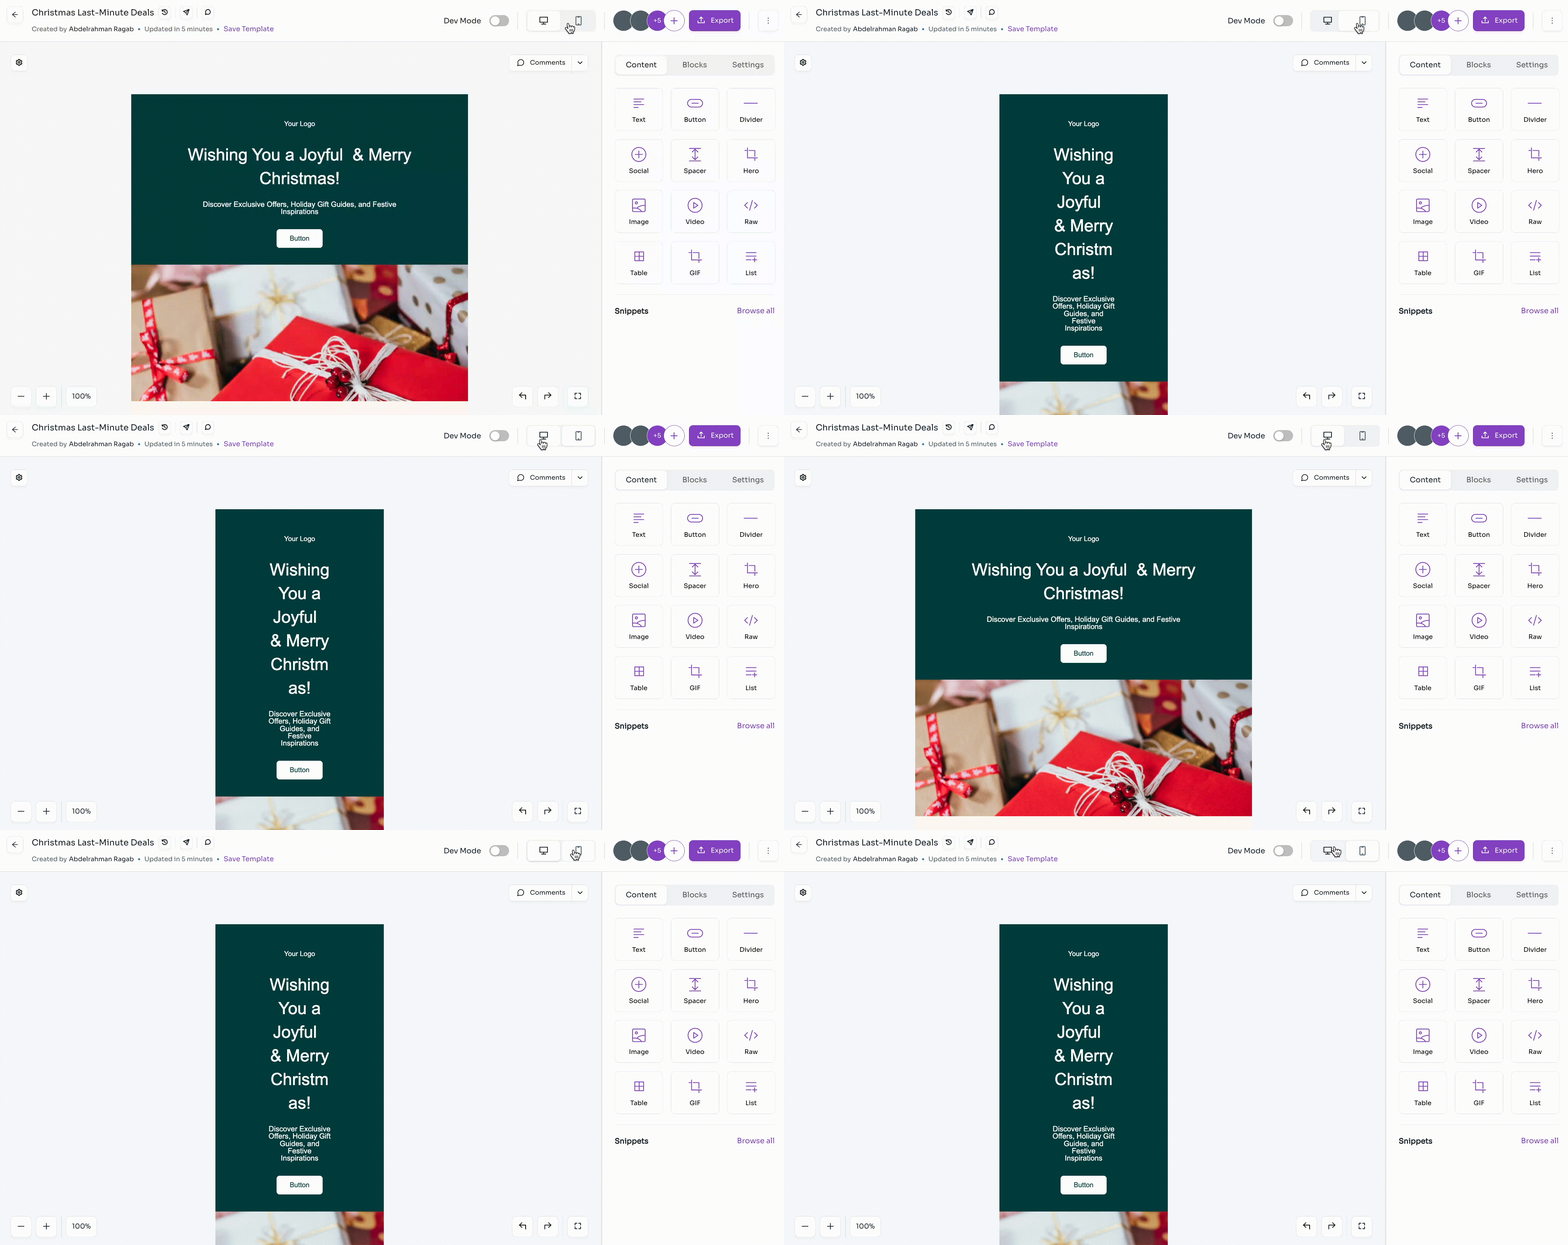
- 📤 Exporting & Publishing: This feature enables you to export your email as HTML or publish it directly to your provider with just one click. For comprehensive details, check here.
- 💌 Invite Members: This feature allows you to invite team members to edit, comment on, or view your template. For comprehensive details, check here.
- 🔄 Version History: Our editor saves your work in real-time and provides version history, allowing you to easily manage all versions and revert to previous ones if needed. For comprehensive details, check here.
Frequently asked questions
How can I apply tags to my content?
To apply tags to your content, follow these steps:
- Open the email editor.
- Click the "⚙️" icon.
- Select "Manage UTM Links".
- Choose your template.
- Click "Apply tags".